
Today let's look at the lathe Wizard. Answer a few questions about the machine and the part, and it sets up the lathe and writes the program for you.
Choose the brand and the control, then tap the orange button to start it. The Job Execution window opens: with Proceed manually you enter the lathe and do everything yourself, with Automatic Wizard the guided procedure starts.
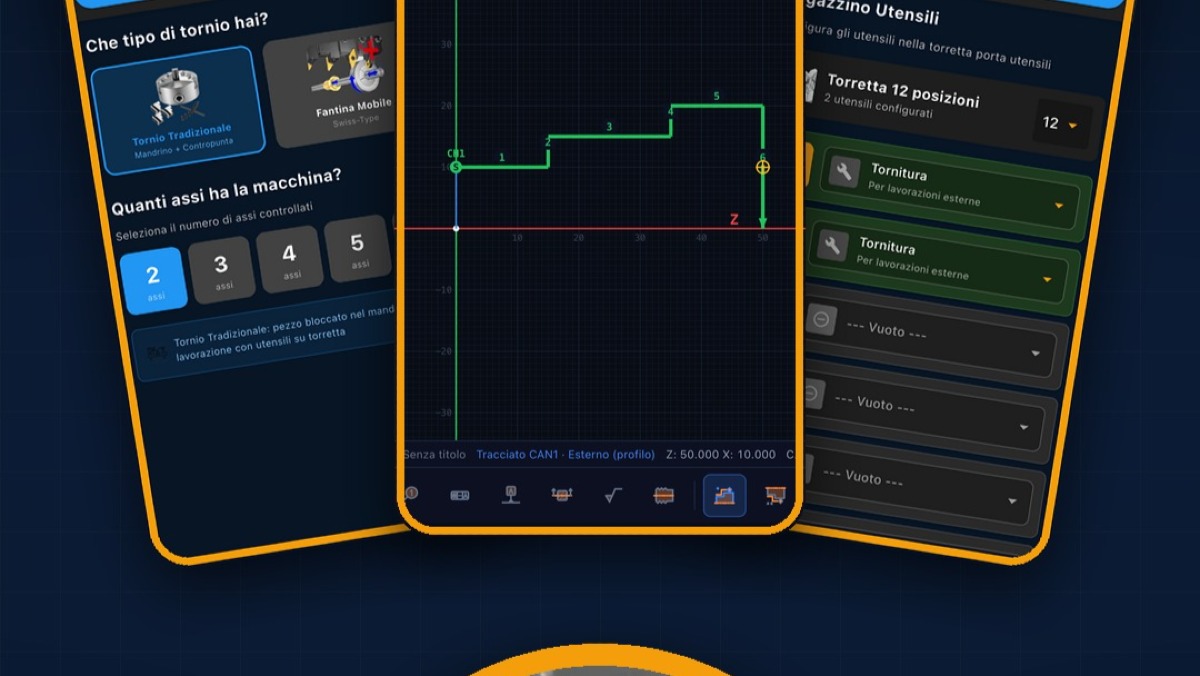
The first question is what lathe you have. Choose the traditional lathe, the one with the spindle and jaws, and below state how many axes the machine has. At the top you can always see what step you're on, and with Next you move to the next one. Then you see the machine's axes, each with its letter, its color and its direction: the plus sign indicates the direction in which the value increases. Check that they match your machine's.
Then the Wizard asks if the machine has live tools. If you say yes, you can mill and drill even off-center, on the diameter of the part; if you say no, only the fixed tools of classic turning remain. Right after, it asks what's on the other side: nothing, a tailstock, which supports long parts, or a sub-spindle, which takes back the part and machines it from the opposite side.
Now the raw stock, that is the bar you start from. Enter the diameter and length and choose whether it's solid or tubular. Below you'll find the program number and the project title, so you can find it again later.
The most important step is the profile, the shape of the finished part. There are many ways: draw it, reuse a saved drawing, enter the dimensions by hand, import a DXF, paste a G-code, or start from a photo of the drawing, taken on the spot or picked from the gallery.
We'll draw it. Tap Draw and the sketcher opens, the same CAD you find in the lathe menu. Using the tools in the bottom strip, draw the part's profile, then select CAN1 Path and tap the segments one after another, starting from the face: this is the path the tool will follow. When you're done, tap the orange Use in Wizard button. You're back in the Wizard, and in the summary you can read how many elements you drew. If you want to change something, Edit reopens the drawing as it was.
Now let's say how the part sits in the machine. With the slider choose the grip, that is how many millimeters of the part are inside the jaws, and the Wizard immediately tells you how much sticks out. The Z zero is on the face of the part and machining proceeds towards negative Z, as the diagram shows. At the bottom, choose the origin register, from G54 to G59.
The last step is the turret. For each position open the drop-down menu and choose the tool you want: roughing tool, finishing tool, parting tool, drill, threading tool and so on. At the top you can read how many tools you've placed. When everything is set, tap Generate.
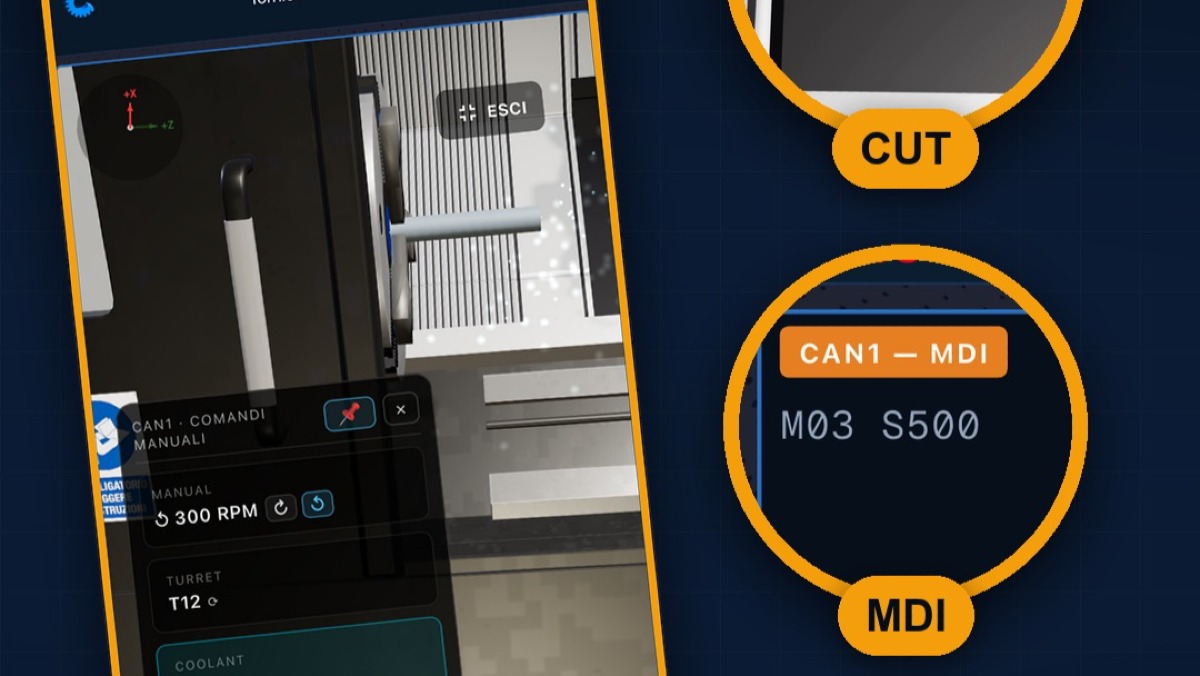
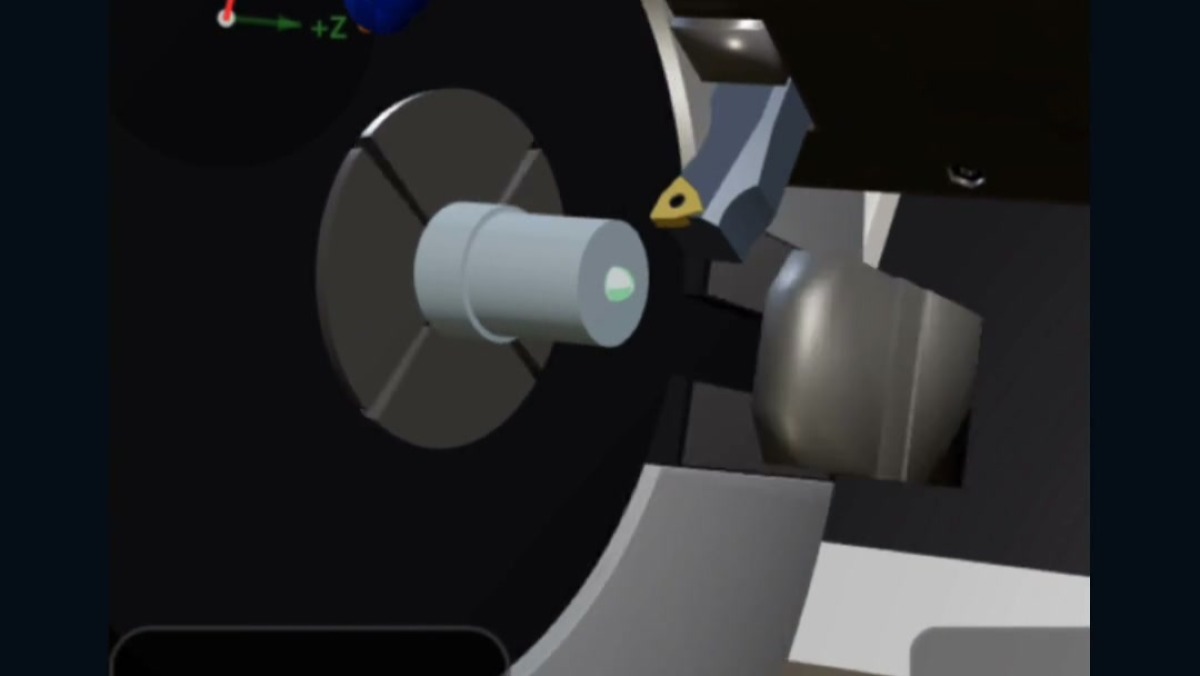
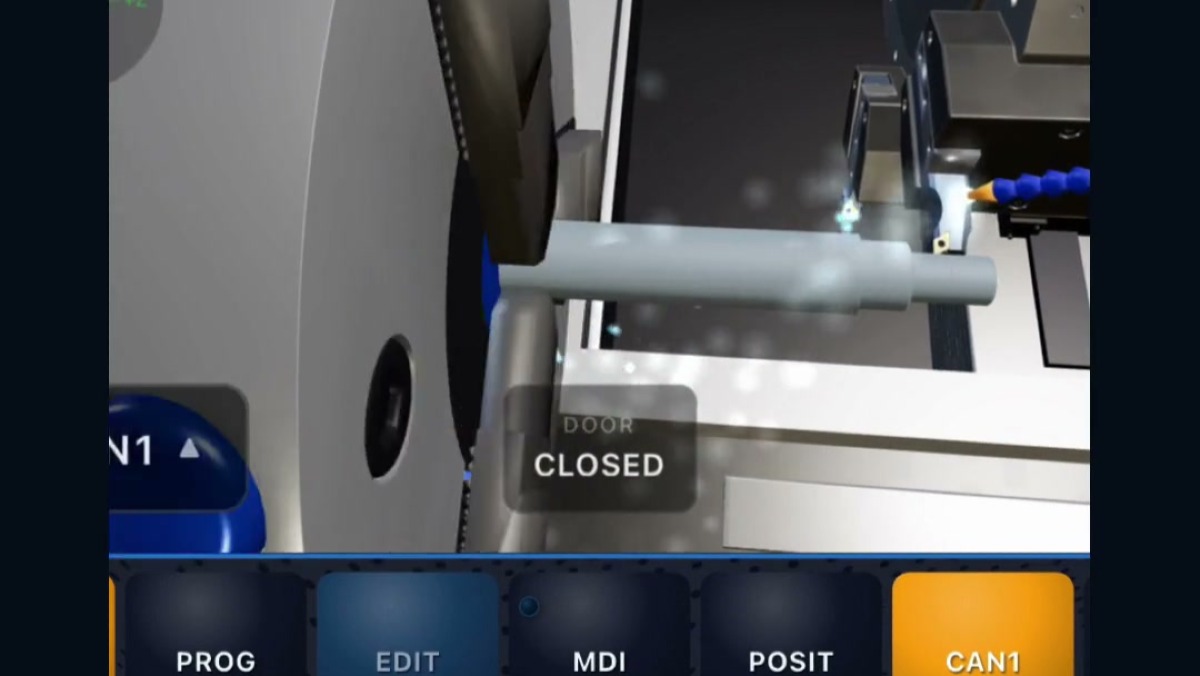
And here we are in the lathe: the raw stock is already in the spindle, the tools are in the turret and the program is already written in the editor. Press MEM, then CYC START, and watch the lathe make the part you described. It writes the program for you, and if you want, you can edit it in EDIT.
Download CNC Code and try it for free: https://www.cncsimulator.it